How to Take a Screenshot on Windows 11: 3 Easy Methods
Want to know how to take a screenshot on Windows 11? Here are three easy methods to capture a specific area or your entire screen.
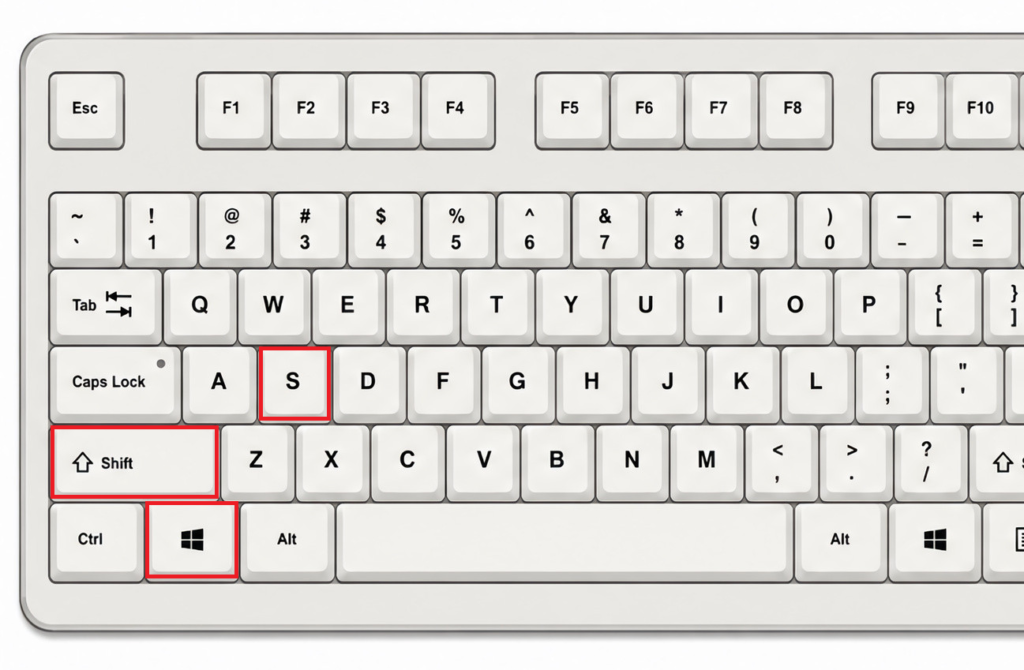
Method 1: Press Windows + Shift + S
Press Windows + Shift + S and select the area you want to capture. Click the notification to edit or save your screenshot.
If automatic saving is enabled, your image will be saved in: File Explorer > Pictures > Screenshots
💡 Tip: To enable automatic saving, open the Start menu and search for Snipping Tool. Click the three dots in the upper-right corner, select Settings, and turn Automatically save original screenshots on or off.
Method 2: Use the Print Screen Key
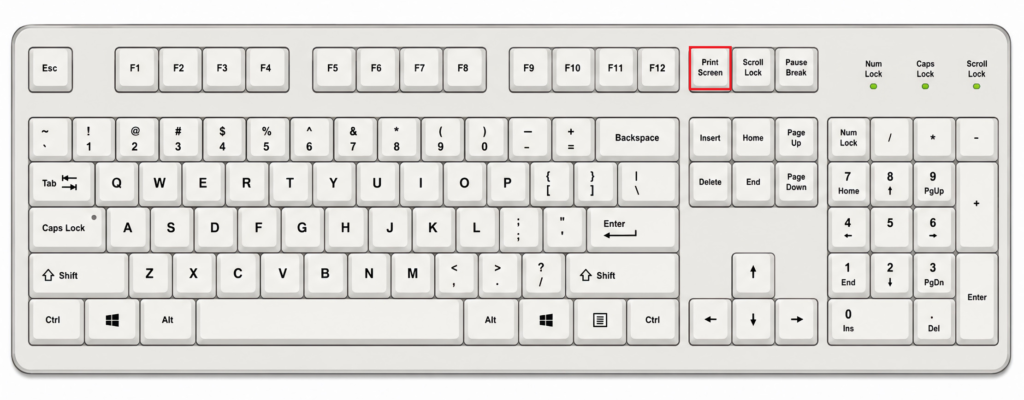
If your computer keyboard has a Print Screen shortcut key, simply press it and select the area you want to capture.
Depending on your keyboard, the key may be called: Print Screen / PrtSc / PrtScn / Print Scr
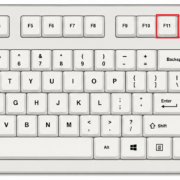
⚠️ Note: Some laptops require you to press: Fn + Print Screen
Method 3: Capture the Entire Screen with Windows + Print Screen
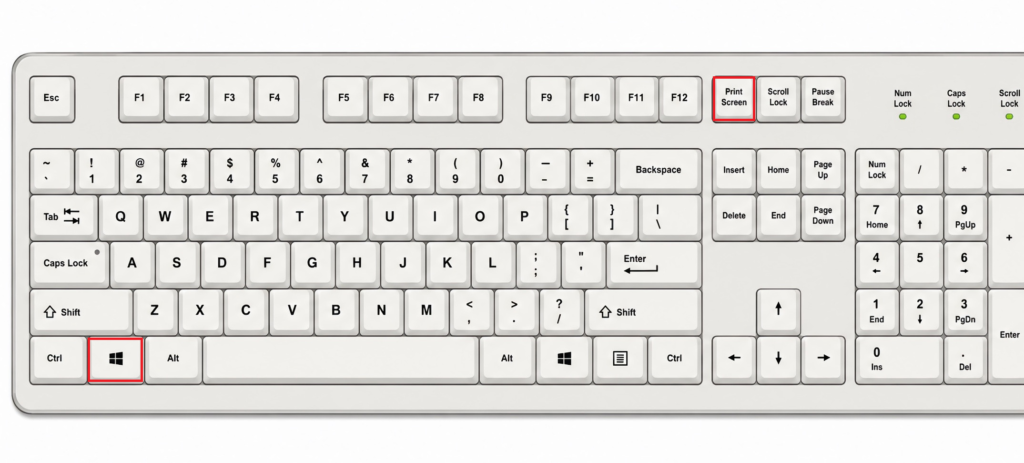
To capture everything on your screen, press Windows + Print Screen. Your screen may briefly become darker, and your image will be saved automatically in: File Explorer > Pictures > Screenshots.
⚠️ Note: Some laptops require you to press Fn + Windows + Print Screen
Bonus: Screen Recording and Specific Capture Modes
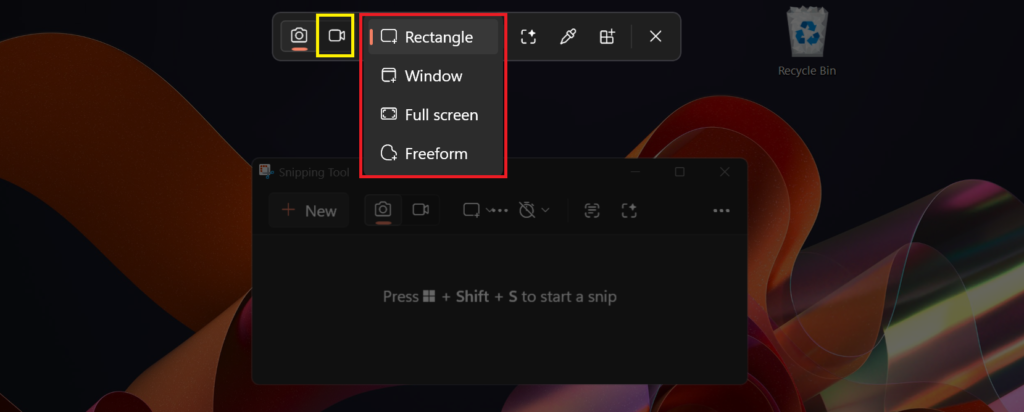
Use the shortcut to start a screen capture. From the Snipping Tool menu, you can choose to capture a specific area, an open window, the entire screen, or a freeform selection.
To record your screen, open Snipping Tool and select the video camera icon.
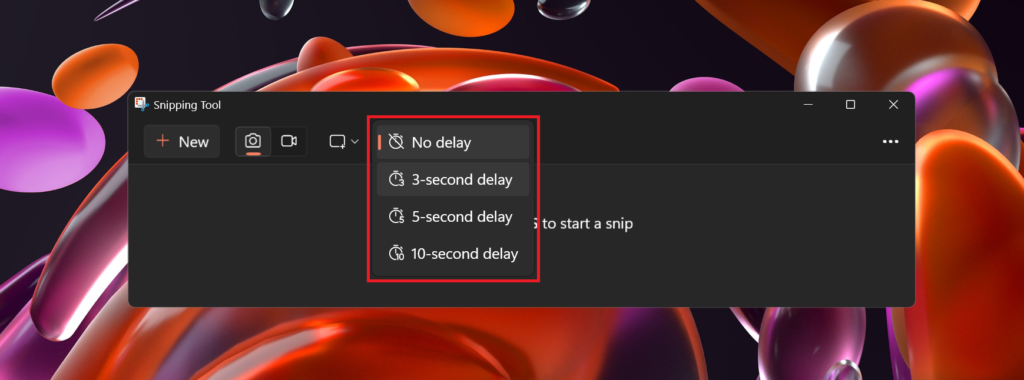
💡 Tip: A delayed screenshot is useful when you need to capture a menu, tooltip, or another item that disappears when you click somewhere else.
Go to Start > Snipping Tool > Clock icon. Then select the delay you want: 3 seconds, 5 seconds, or 10 seconds.